Getting started with Marketing Cloud Setup can be tricky, make sure you understand what each section in setup requires before getting started.
Navigating Settings:
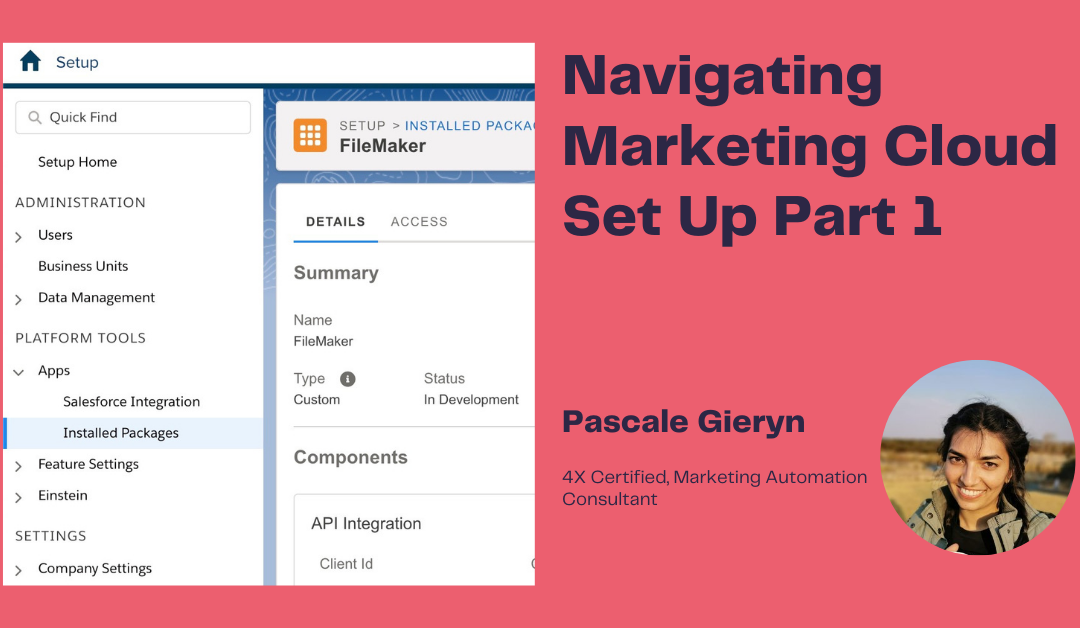
Once your username and password have been set, log in. There are two ways to get to Set Up.
First by navigating to your username in the top Right-hand corner → Setup
Or by Email Studio → Admin
In this article, we will work with the first way of navigating to Setup:
Account Administration
The Setup homepage displays a dashboard of metrics, your setup progress, and easy links to the latest Marketing Cloud Release Notes, Trailhead, and information on getting certified!
The dashboard shows numbers relating to Journeys in draft, running, and stopped. Automations running and completed, data extensions, and content added.
Account Settings
Under Account Settings, you will find your Account ID which may be requested when logging a case in Salesforce Support.
You will always find information regarding the specific Business Unit under your account settings. This will include items such as Email Addresses, Sender Authenticated Domains, as well as other company information. Another thing to note is the Headers and Footers content can be found here.
Note:
You can deactivate your headers and footers and create them in content builder.
Security Settings:
It is valuable to note that Marketing Cloud comes with best practices already set up ( such as Session Timeout: 20 mins, Min Character Length of at least 8 characters, as well as enforce password history (how long a user can reuse an old password before setting a new one),etc.). You also enable SSO in this space, too.
An audit trail is also enabled in this section to see who has made changes etc. in this section.
Login IP Allowlist:
includes a range of IP addresses that indicates what IP addresses can access your account. Allowlisted IP addresses ranges can access the application.
Login IP Addresses are activated in this section, but you would need to go further down into the sidebar and click on Login IP allowlist to create these sources. There is no restriction on the amount that can be created.
For Further settings under the Setup Tab from your profile, you will need to navigate to Feature Settings / Email Studio and work your way down the list. This article can be found in part 2.

