The Mailchimp integration allows marketers to segment data within Salesforce! Marketers can send these segmented, up-to-date sets of data (called Queries) straight into Mailchimp for use as a sending list for a campaign. In this article, you will find 3 ways of segmenting data within Salesforce.
Sending an email to a specified list
- Go to the Mailchimp for Salesforce Application
- Click on the tab MC setup

- Navigate to Member Queries to pull a list:

- Select New Query and follow the prompts:

- Select an Audience.
NOTE: Some people have more than one audience for different data, that cannot be seen by another company using the same Salesforce instance but, the standard is usually 1 audience.
- Once you have selected an audience, you will see two lists – Groups and Tags.
NOTE: Groups, according to Mailchimp, are specialized audience fields that let contacts self-categorize based on interests or preferences using uniform responses you set. Whereas Tags are an efficient way to internally categorise your audiences into lists.
If you are new to Mailchimp, you need to create a different tag for each ‘list’ you wish to create. I have created the segmentation of tag 1, tag 2, and tag 3.
- When you click on Next, you will be able to start setting criteria:

- Select if the set of recipients are contacts, leads, or perhaps a mix and currently reflect in a campaign as campaign members in Salesforce. Alternatively, you can select a mixture of the three options.
- When selecting Leads or Contacts, an option will pop up to select only your own leads or contacts – this looks for the criteria of “ Are you the Record Owner of this lead or contact?”

11. Once you have selected this, you can set criteria to segment your data effectively. Perhaps it is by area or name, or Industry.
Note

12. Once you have selected your segmentations, a preview will show of results, click next to see the last step:

13. Name your Query – perhaps in the same naming convention as your tag. Schedule the run time, if needed, and click save and run or just save if you wish for it to run at its next scheduled time.
14. If your query has Run, log into Mailchimp, you will see the newly created tag and Mailchimp subscribers linked to that tag if the criteria in salesforce fit.
Now you can go ahead and send your email campaign!
What happens if your segmentation criteria is not as straightforward as that? You have two options! Either manually adding to a campaign – for example, when there is an event that you require your sales teams to invite their top clients to. Or create an Accounts and Contacts report with the segmentation you’d like and add these leads or contacts to a campaign and then follow the same steps as option 1.
Option 1: Manually add to a campaign
- Create a campaign
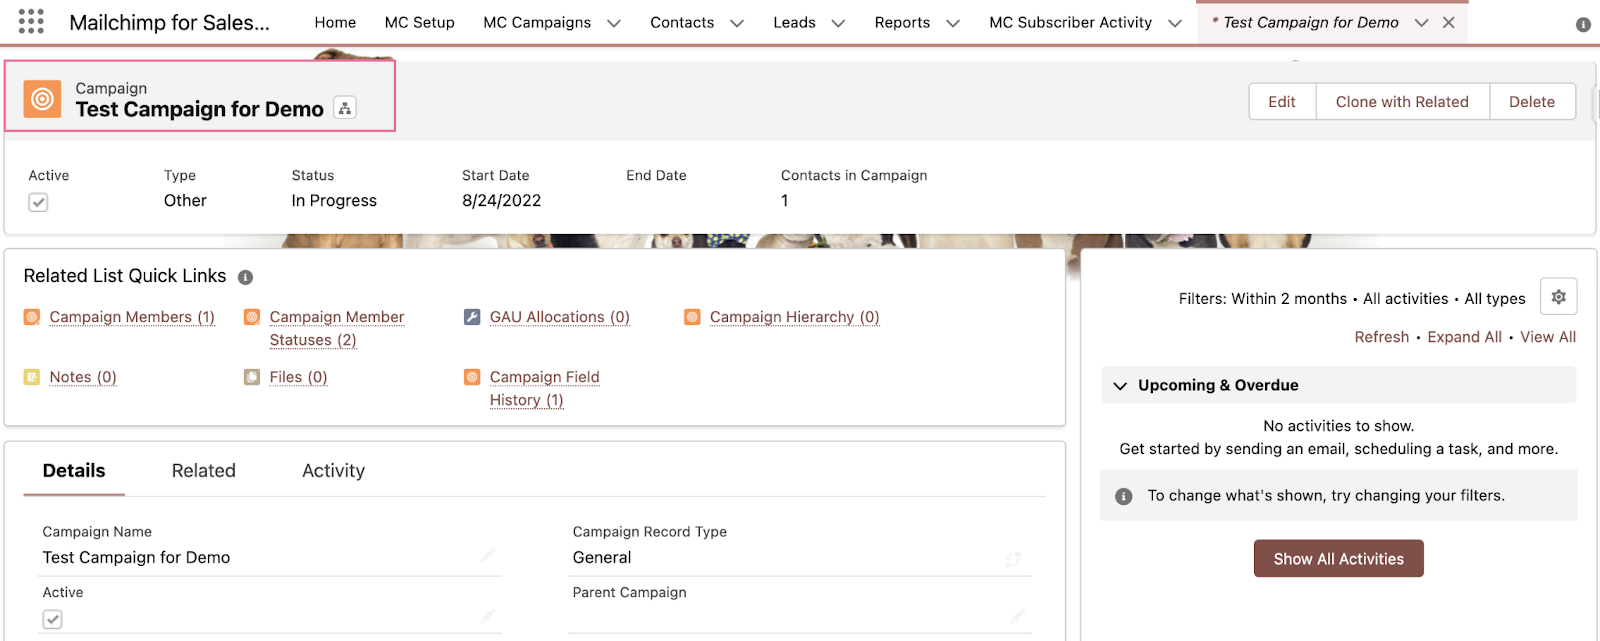
- Add your leads and contacts
- Navigate to MC setup → Create a new Query
- Select an audience
- Create a tag → Click Next
- Select Campaign members checkbox
- Paste in the Campaign name you have added members to
- Use any other filters you may need related to the campaign object
- Name your query and set your run time to push through to Mailchimp
- Log into Mailchimp and send of your email using the tag as a list.
Option 2: Create a report with report type
- Open the reports tab
- Choose the Accounts and Contacts and Accounts Report Type
- Select Start Report


- Use filers, logic, and outline to define your report

6. Save and run your report, Enter a name you can identify the report with and file it accordingly

7. Use the Arrow on the top right to Add to Campaign

8. Add to an already existing campaign or create a new one → Submit

9. Follow steps 3. to 10. In Option 1 above.
Happy Emailing!